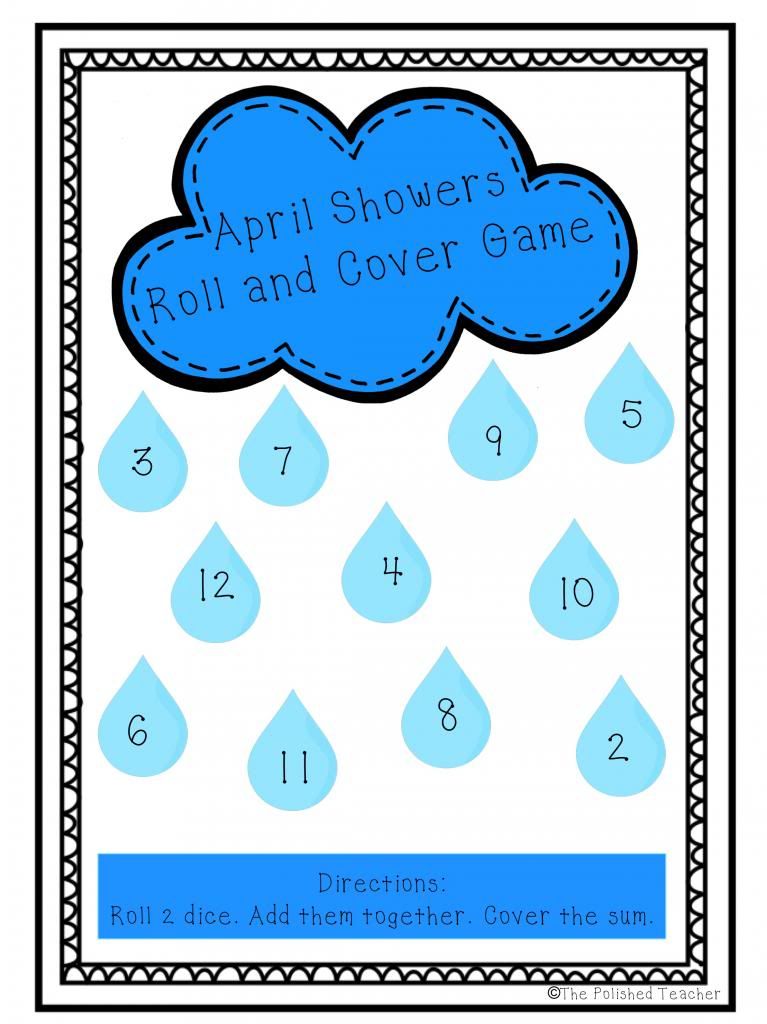
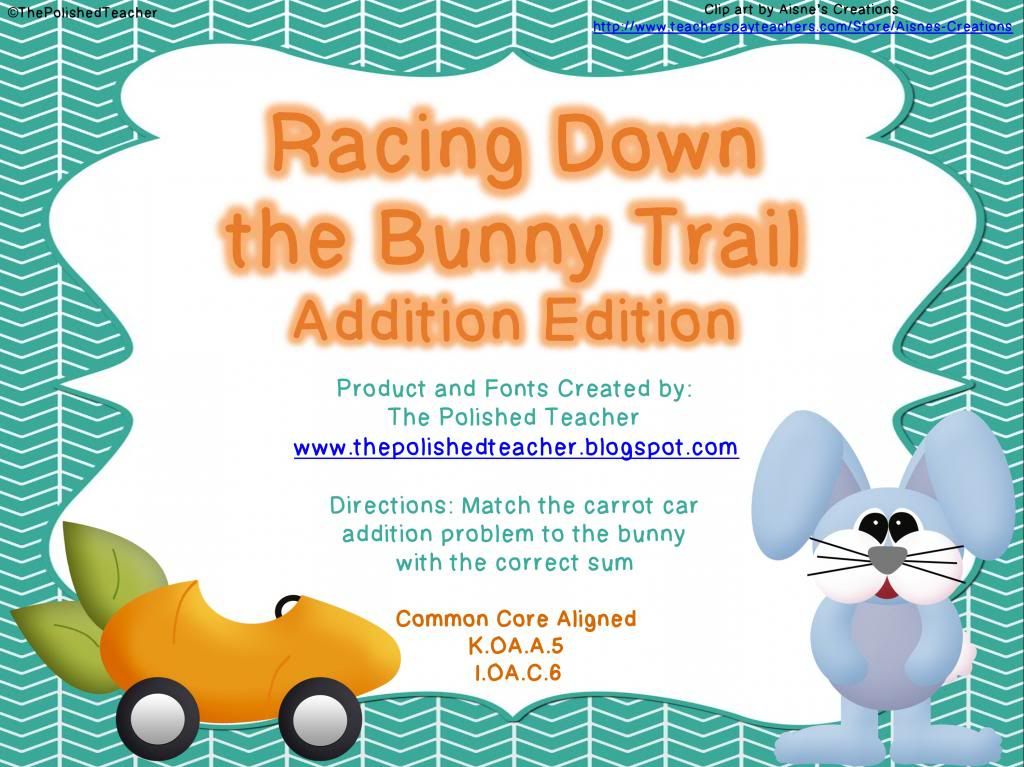
I'm gonna just start this post off with the positive first because after this it's all downhill. I finally discovered how to use my iPad to make graphics! Yay! I whipped up these 3 borders for you all to share for Manic Monday with Classroom Freebies.

I haven't linked up for that in weeks now and I owed you! I plan on trying to tackle more borders, frames, and ultimately clip art in the future! If you use them in your creations, just give a link to my blog or share my blog button on the credits page.
Click on any picture to download the frames


I had such high hopes of this weekend being a wonderful crafting weekend! After all, it is the first week of Monday Made It with Tara at 4th Grade Frolics and I was aiming to start this off with a bang.
I haven't linked up for that in weeks now and I owed you! I plan on trying to tackle more borders, frames, and ultimately clip art in the future! If you use them in your creations, just give a link to my blog or share my blog button on the credits page.
Click on any picture to download the frames
I had such high hopes of this weekend being a wonderful crafting weekend! After all, it is the first week of Monday Made It with Tara at 4th Grade Frolics and I was aiming to start this off with a bang.

I picked out my favorite new pins and got ready to get my craft on. It started out like a dream. However, this weekend turned out to be craft fails 3, me 0.
Note: None of these photos have been edited in any way so that you can see the full effect fails.
First up, and *most* successful are these fun colored jars.

This pin seemed simple enough! All you have to do is mix Elmer's glue with food coloring. Paint it on, let it dry and you have these beautiful jars!
Absolutely not the case with me! Here is how my version turned out.
This is the before version - Right after I finished painting.
This is the before version - Right after I finished painting.


Here is the end result - Looks alright but not really up to par!


Let's talk about the downfalls of this project:
1. Paint did not cover evenly at all. It was very streaky and uneven.
2. Paint brush hairs kept falling out and sticking to the sides.
3. Dried bubbly and really thick on the bottom. Did not dry all beautiful pearly looking.
4. Food coloring stained your hands if you touched it.
5. The polka dots on the jar kept getting messed up and looks a bit strange with the half see through jar.
6. This jar requires an insanely long drying time for just a simple coat of glue. Been roughly 24 hours and still it is not drying yet and don't know if it will ever be!
5. The polka dots on the jar kept getting messed up and looks a bit strange with the half see through jar.
6. This jar requires an insanely long drying time for just a simple coat of glue. Been roughly 24 hours and still it is not drying yet and don't know if it will ever be!
Overall, I wouldn't try doing this project again. It would have been easier to just spray paint the jar in one coat than paint multiple coats of this gluey mess.
Next, I did my own spin on these upcycled containers.
They look so perfect and so easy to make. Just wrap in scrapbook paper, seal with modge podge and voila! Instant adorableness!

Here's my version, the most unsuccessful pin of the weekend.


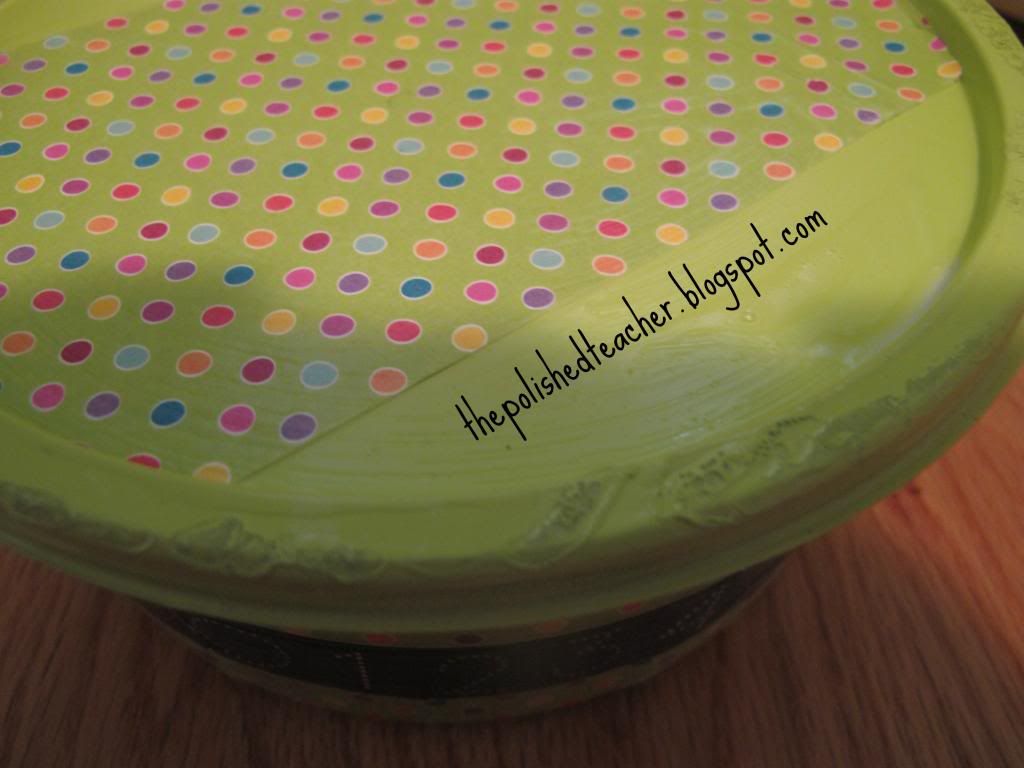

I had this leftover food container that I thought would be perfect to turn into some container to use in the classroom. However, everything that could have possibly gone wrong went wrong.
1. Ran out of spray paint before I finished.
2. Spray paint got all messed up in the process drying on the tarp.
3. Modge Podge just hates me and always gets streaky.
4. Scrapbook paper didn't align right and just looks crazy stupid.
5. After spray painting and modge podging, the lid no longer fits on the container.
Yup that is a definite failure in my book!
Finally, the most disappointing were these DIY glitter sneakers.

This was a pin that I was just dying to try! It was all dependent on finding some canvas sneakers. After finding the perfect pair, I thought it was going to be a match made in shoe heaven! During the process, it seemed like these shoes were going to be my new favorite shoes ever. However, after they finished drying, they were practically unwearable. So sad!
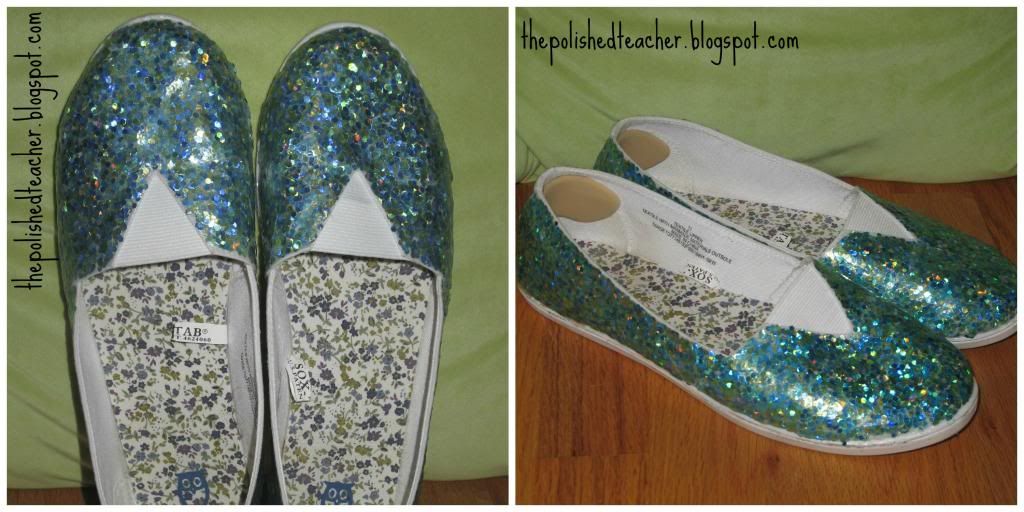
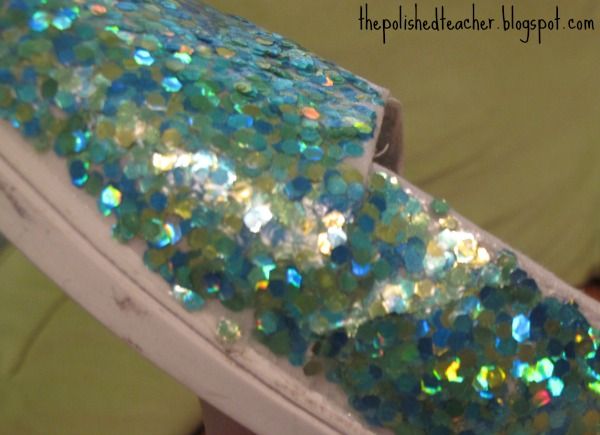
Here's everything that went wrong with these shoes:
1. After taping the sides, the shoes remained eternally sticky even after using goo gone, nail polish remover, you name it. Anywhere you walk, you pick up tons of dirt and dust.
2. The shoes dried in one solid layer of modge podge! With each step you take, the shoes crack and glitter falls off.
3. The shoes don't really fit anymore because they don't stretch.
This one pin I would be willing to try again though. I just love it that much. Here are the changes that I would make:
1. Buy different sneakers. I'd probably buy keds which are softer material and then might still stretch more in the end.
2. Use very fine glitter. I think that the glitter I used was too big. It required more modge podge than finer glitter might have and as a result made the shoes crack.
3. Ignore the taping process and just be very careful with the glitter. I think it would be easier to scrape off glitter if it dripped rather than having dirty shoes 24/7.
As it is clear to see, these were not successful pins by any means for me. If you were to pin them on Pinterest, or share on instagram, the might look fantastic as a tiny little image. However, when you really dive closer the major flaws are revealed. Oh well! Better luck next week! Hopefully I will be able to share some craft successes. Otherwise, I might need to start a new weekly series: Craft Fails with The Polished Teacher. Now head back over to Tara's blog and read about some successful pins! I know that's where I'm headed!